1. Navigate to https://www.quantaco.co/
2. Click "LOGIN"

3. Login to QPlatform and select QFinance from the top left drop down
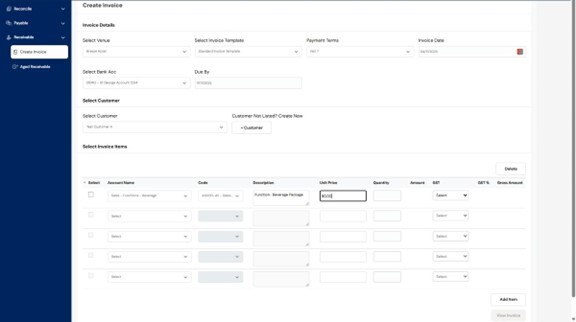
4. From the left-hand navigation bar, click on the Receivable. Select Create Invoice.
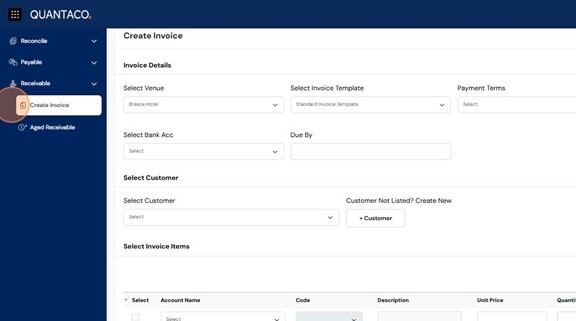
5. In the Invoice Details section, complete the following fields:
Venue – Select the venue or location associated with the invoice.
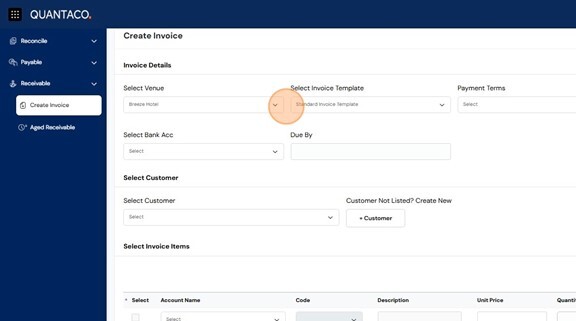
6. Invoice Template – Choose the preferred invoice format for your business.
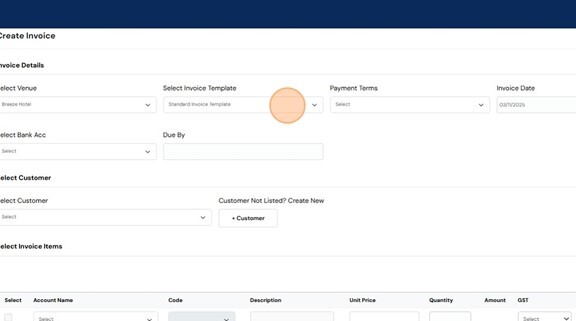
7. Payment Terms – Define when payment is due (e.g. 7 days, 30 days).

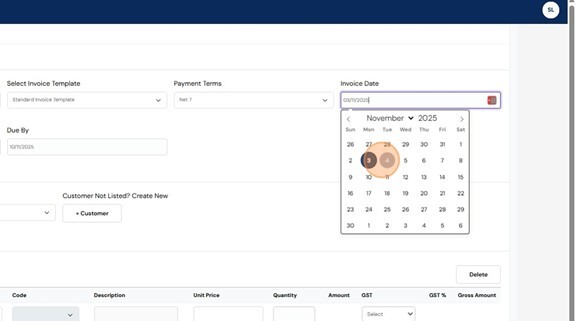
8. Invoice Date – Select the date the invoice is issued.
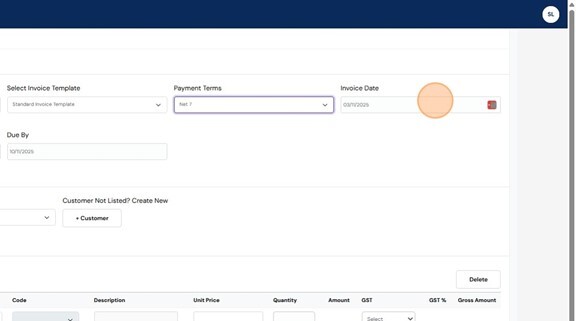
9. Bank Account Details – Choose which bank account details will appear on the invoice.
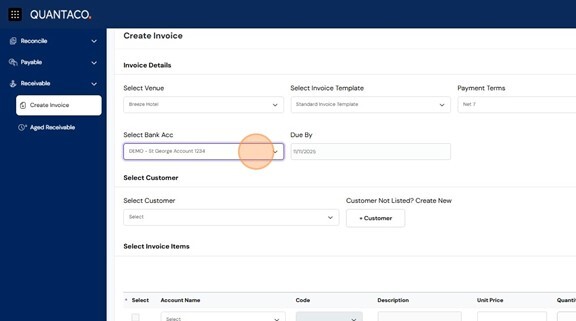
10. Due by field will populate based on the information under payment terms
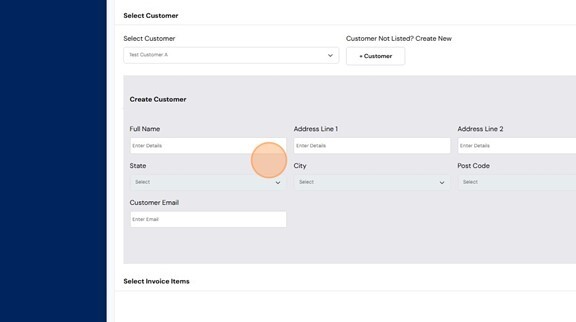
Adding Customer Details
11. Use the Customer dropdown list to select an existing customer.
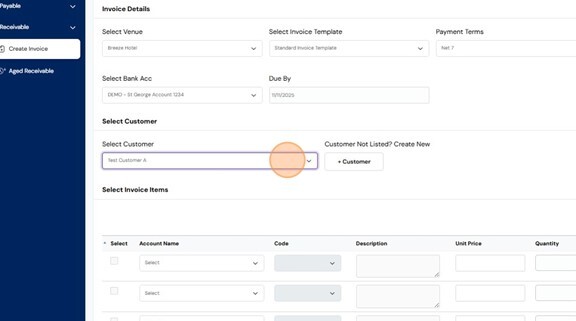
12. If the customer does not exist, click the +Customer to add customer details.

13. To add customer details enter the following details:
- Full Name
- Address
- Country, State, City, Post Code
- Mobile Number
- Customer Email
Click Create Customer to save the entry.
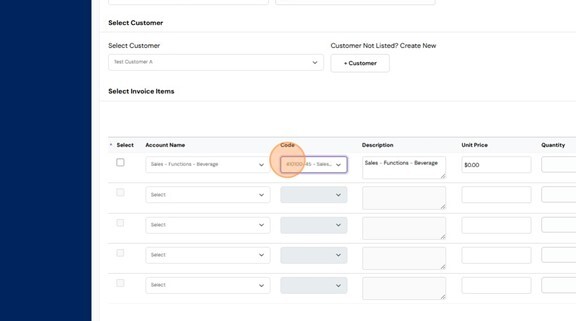
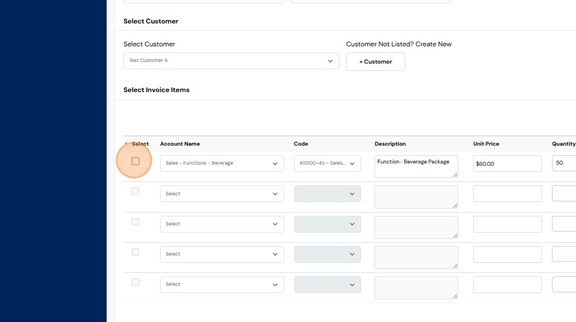
14. In the Select Invoice Items section:
Choose the Account Name for the invoice line using the dropdown list.

15. Select the Code for each line item.
This will automatically appear based on the account name selected.
If additional codes or items are needed, email your Quantaco inbox to request setup assistance.
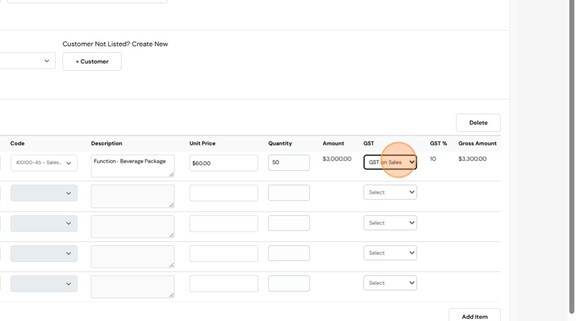
16. Add in a personalised description if required to the invoice line.
17. Update the unit price and quantity
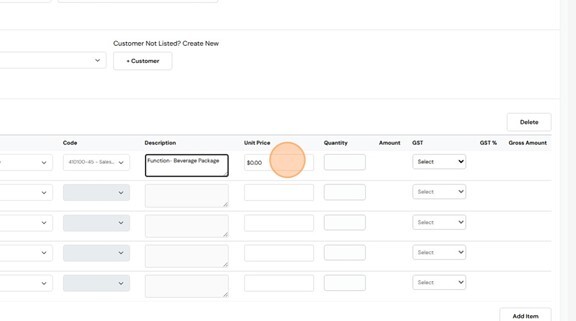
18. Select if this item requires GST accordingly.
19. Click this checkbox to include this line item in your invoice.
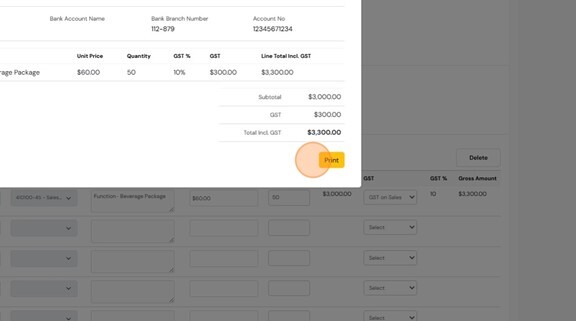
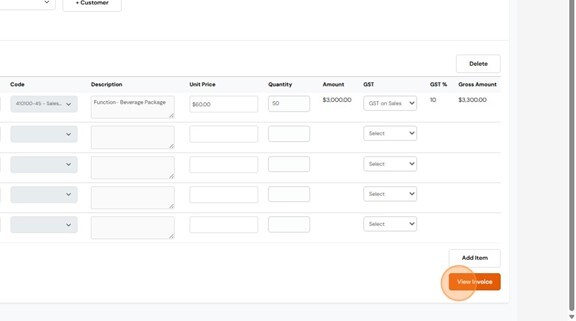
20. Click "View Invoice"
21. Once you have reviewed, click "Create Invoice"
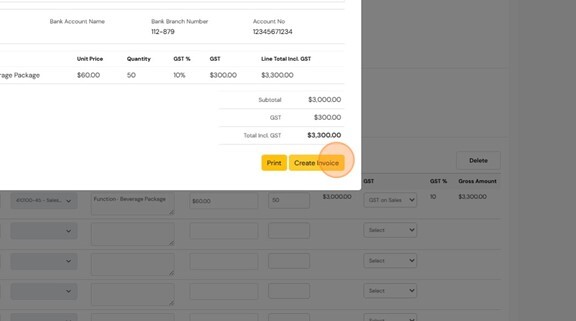
22. Click "Print" to download this invoice and send through to the client.