Creating a new checklist (Web)
This article will show you how to create a new checklist
Creating a new checklist is easy, follow the below steps as we show you how.
-
Select the "Checklists" tab from the left hand menu.
-
Select "New Checklist" in the top right corner of the screen.

-
The "Create Checklist" screen will now open and prompt you to enter the checklists details including the checklist name, description and selected the venue it will apply for.
Once the above details have been entered, you will than have the option to add elements to build the checklist in any format you require.
Heading - Enter a heading to define sections in your checklist
Text Input - You may want to include a note or information relevant to the checklist
Checklist - Enter the items you would like the user to check off in sequence
Media Attachment - Upload a photo or video for the user to refer to

-
For each element you add, you have the option to "Allow media" and "Allow comments". This will allow the user completing the checklist to upload a photo or comment in response to the element.

5. To add in Media select the more items option

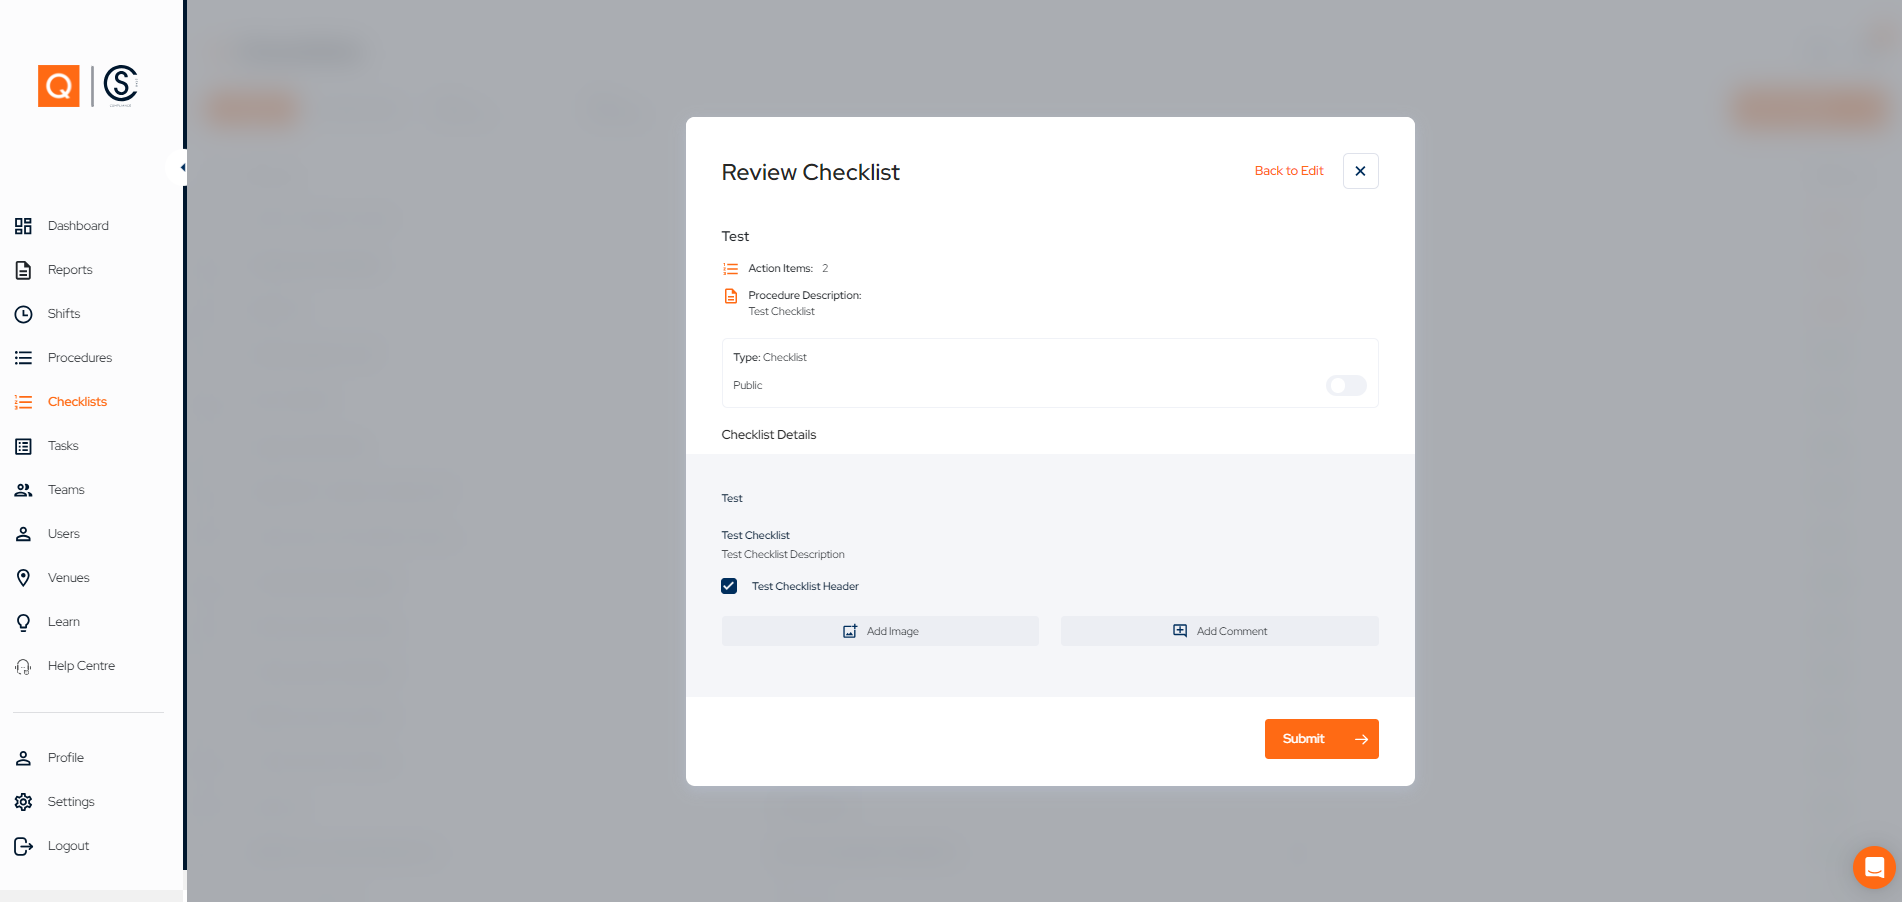
6. Once you are happy with your checklist, click "Review Checklist" followed by "Submit". When completing this step you will also have the option to make the checklist "public" - this will allow anyone assigned to the venue to view the checklist and complete it.

7. Congratulations, you have now created a checklist.