
How to Create an Incident Report in Star Compliance
This guide walks you through the steps to log, complete, and submit an Incident Report in Star Compliance, including how to use status indicators and filters.
Log In to Star Compliance- Open your web browser and navigate to your organisation's Star Compliance URL. Enter your credentials and click Log In.
- Open your web browser and navigate to your organisation's Star Compliance URL. Enter your credentials and click Log In.
- Navigate to Reports
- Select Reports
- Select New Report

3. Search for the Incident Report
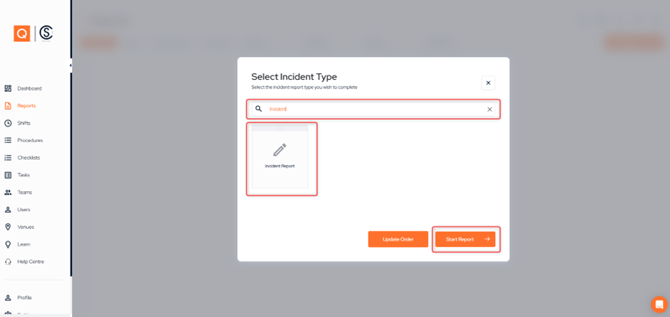
- In the search bar, type "Incident Report" to find the relevant report template.
- Select Start Report
4. Complete the Report
-
- Complete all required fields
- Some fields are auto populated for convenience
- * Indicate mandatory fields, a report cannot be approved without these fields completed

5. Submit or Approve Report
-
- Draft: Save the report for later.
- Submit: Submit the report for review.
- Approve: Approve the report, depending on your user level and permissions.
Additional Features:
Report Status Indicators
Status light indicators help visualise the status of the report:
-
- Green flag: Created within 24hours of the incident and all mandatory fields completed
- Orange flag: Not created within 24hours of the incident and all mandatory fields completed
- Red flag: Not created within 24hours and still in draft or submitted status

Filters for Incident Reporting
Incident Status: Easily find reports based on their status- Incomplete
- Not complete within 24hrs
- Complete

- Filter by Time: Sort reports based on the time the incident occurred
